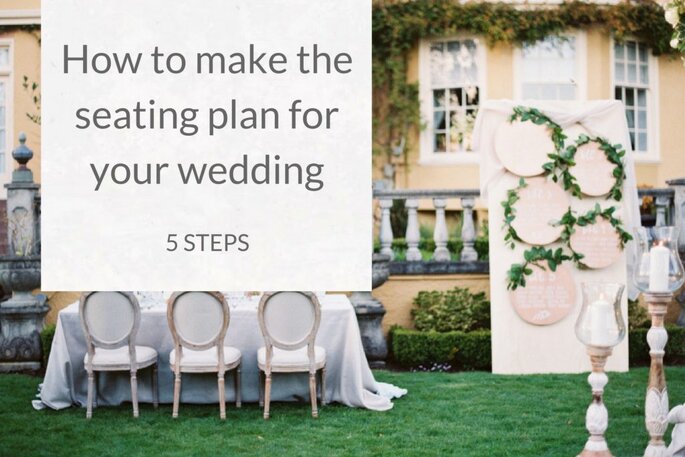
Organising the table layout for your wedding can be exciting and fun, yet often stressful. A coherent seating plan should be both practical and enjoyable for your guests, so that they can socialise and have fun while eating a delicious meal to celebrate your big day. In order to create the perfect table plan, follow these 5 steps.
- 1. Establish a method
- 2. Have a confirmed guest list
- 3. Organise guests by colour
- 4. Restructure
- 5. Personalise the tables according to your tastes
1. Establish a method
As we’ve said, table organisation can be a highly complicated activity – depending on your amount of guests. So prepare to get creative and practical with all the necessary tools: paper, lists, cards, scissors, post-it notes, highlighters and pens to start mapping it all out. Alternatively, if you’re a computer whiz, use a program like Excel.
First of all, you must have the venue sorted to know dimensions and the possible number of tables. When you have all of that confirmed, it’s time to put on your overalls and, with a paper and pencil, sketch the space, drawing the tables and situating them around the room.
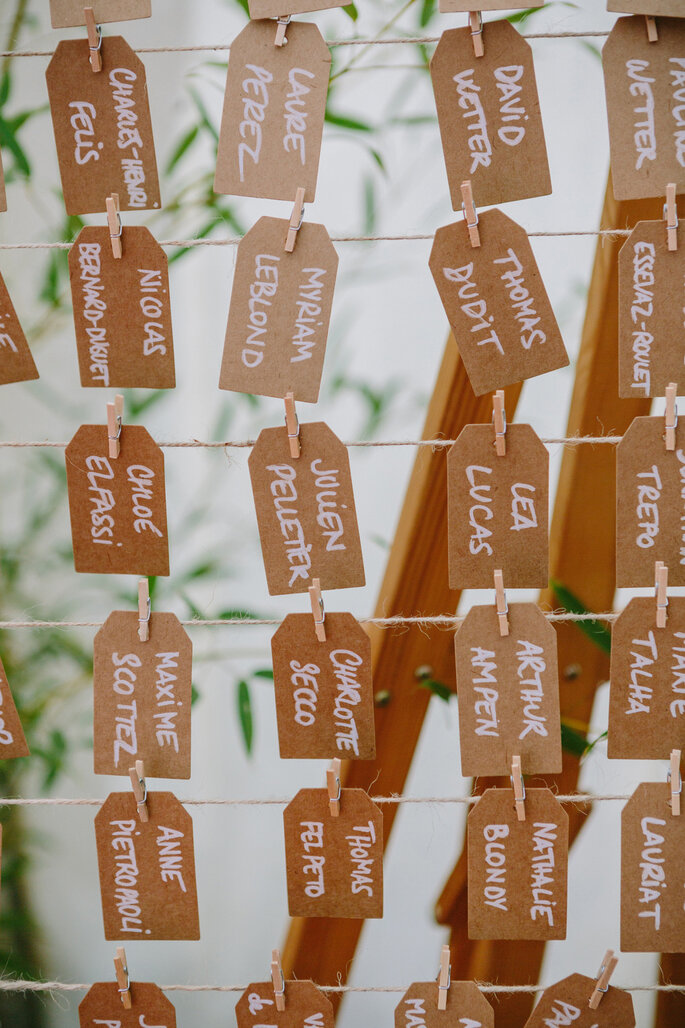
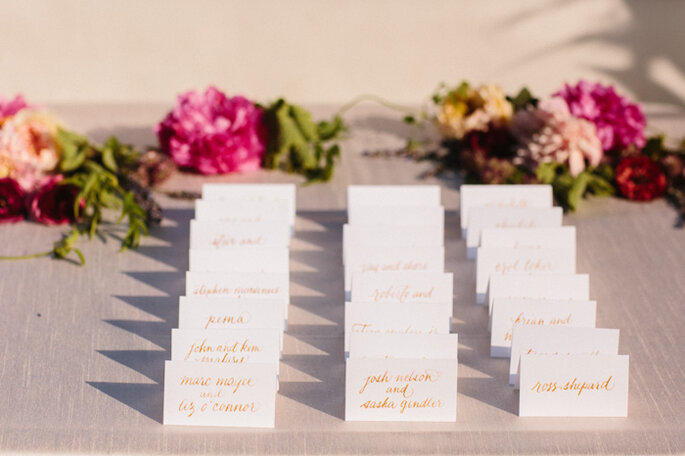
Next, take the list of your guests’ names and, one by one, rewrite them on different post-it notes, divided by colours (this section is explained more further down).
2. Have a confirmed guest list
It is important to have an almost definitive guest list – yes, you may have complications like guests cancelling, but try to have your list as finalised as possible. Only then can you get an idea of how to start organising the tables, with few numbers above or below the total. And, although it sounds a little hard, you must also manage the list of substitutes in case there are last minute changes.
In this sense, inform yourself about how the tables are and how many people can fit on them. Manage your number of guests according to the table capacity of your venue.
3. Organise guests by colour
To begin distributing your guests to tables, the most practical idea is to divide all of them into colours, normally related to a group: elderly people, cousins, university friends… With these categories, you just have to take the post-it note of each colour and place it on the same table. Although you can also use colours for certain groups and then combine them. Whatever you find easiest!
Firstly, locate the people who will sit at the high table, such as yourselves and your parents – all identified by the same colour. Next, focus on groups of people who share family kinship. Grandparents should have their own colour. This would form a table for your more elderly guests which you can situate a few tables away from your loud, younger friends!
Afterwards, cousins who are not children should identify with the same colour, you can sit them as a mixed cousin table from both the Bride and Groom’s side so that they can get to know each other.
There should also be a children’s table, where the smallest members of the family (children of siblings or cousins…) and friends will be. If there are too many, there would be more than one table set aside for them, dividing it by children of relatives and children from other circles.
Next, focus on friends. In some cases, they will share a table with cousins if there is space, but they are usually divided by groups: university friends, work friends, childhood friends… You should assign their colour and place them on their corresponding tables.
This is just a guide on how you could organise your seating plan by categories/age, but of course, each family has its own specialties and you may want to mix and blend different groups.
4. Restructure
For last minute changes (which are often inevitable), you have two options:
In the case of cancellations, your first option is to use the list of substitutes and send a second lot of invitations to replace those people. Although it seems unpleasant, this practice allows you to keep in mind those people that you always wanted to invite, but couldn’t the first time round because of the lack of space or budget. Bear them in mind and place them in the group where you think they would get on best.
The second is to adapt the tables to the new situation, by just removing people that can’t make it and have a smaller table – but, make sure your venue can be flexible to last minute changes.
5. Customise the tables according to your tastes
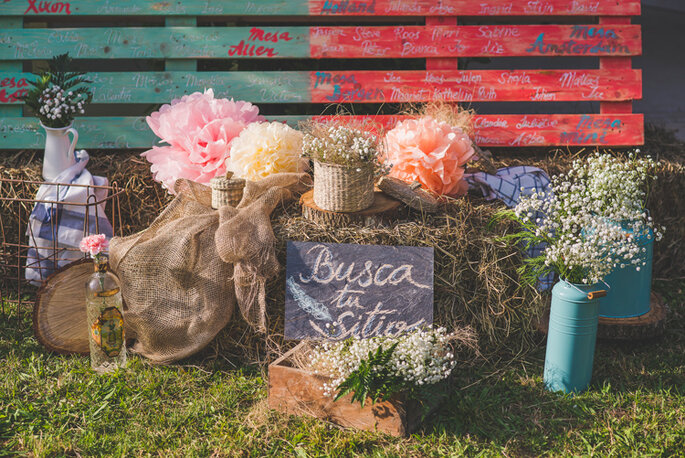
One of the best and most fun parts in this process is the personalisation of the tables. Some couples embark on the adventure of thematising their wedding, or, at least, the tables, according to their tastes, passions and hobbies.
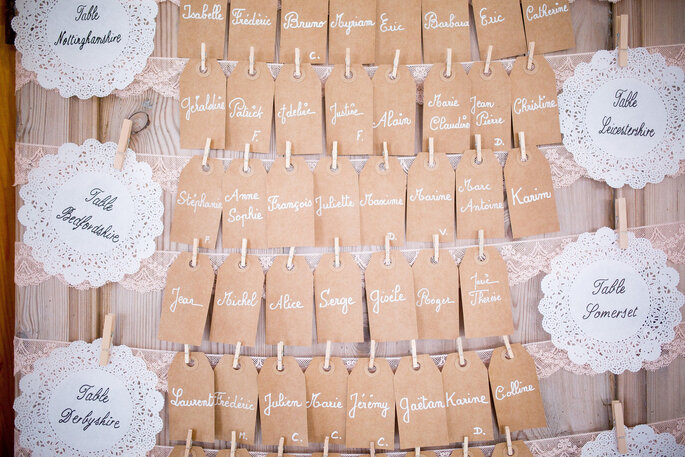
Original and creative seating plans make for a great wedding. Tables can be identified with special names, such as movies, music groups, names of records, books, celebrities, artists, concepts, feelings… In addition, the tables will be accompanied by a decorative motif that makes reference to the table name.
This special badge or photograph is both useful in identifying the table, as well as decorative. It becomes a token of the couple’s personality, a centrepiece, and something fun to distinguish each table – so get thinking and be imaginative!
More Organisational Advice:
How To Write Your Wedding Invitations In 5 Simple Steps
Don't want to miss out on the latest trends for your wedding?
Subscribe to our newsletter.


Leave a comment